Custom Paper Dialog
Use the Custom Paper dialog to customize the dimensions of new user-defined papers.
The Custom Paper dialog is accessible from the ePrint Task Printer Creation Wizard. To open the wizard, from the main menu, choose Tools ➔ Task Printers Manager. When the Task Printers Manager dialog appears, click the Add button or select a printer and click the Edit button. Keep clicking Next until the Document Options page appears. Click the Add or Edit button.
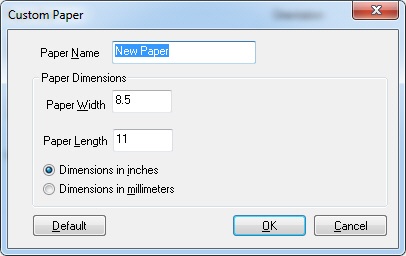
The following fields are on the Custom Paper dialog:
Paper Name Edit box
Use this option to enter the name of the new paper.
Paper Width Edit box
Use this option to enter the paper width.
Paper Length Edit box
Use this option to enter the paper height.
Dimensions in inches Radio button
Select this radio button to use inches for paper width and height measurements.
Dimensions in millimeters Radio button
Select this radio button to use millimeters for paper width and height measurements.
Default Button
Click the Default button to set the dimensions in the dialog to the default values of 8.5 inches wide by 11 inches long.
OK Button
Click OK to close the dialog box and add the new paper.
Cancel Button
Click Cancel to close the dialog box without adding the new paper.
See Also
ePrint Task Printer Creation Wizard